Building CARLA (v0.9.15) from Source on Windows 10/11 with Visual Studio 2022: The Ultimate Guide
Skip the headaches and save hours of research with this comprehensive, step-by-step guide to building CARLA on Windows 10/11 using Visual Studio 2022.
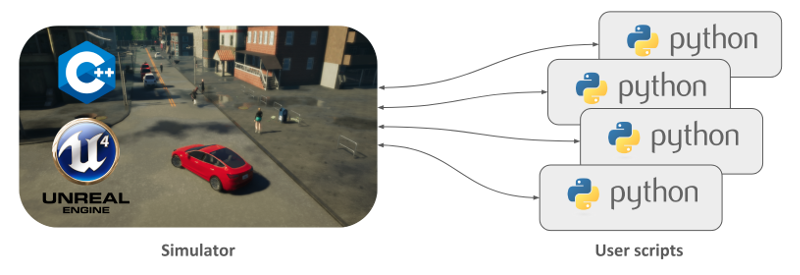
Table of Contents
- Introduction
- Why This Guide?
- Prerequisites
- Setting Up the Environment
- Building CARLA from Source
- Launching the CARLA Simulator
- Running the CARLA Client
- Conclusion
- Additional Resources
Introduction
Building CARLA, an open-source simulator for autonomous driving research, from source on Windows can be a daunting task. The maze of outdated guides, cryptic errors, and hours of compilation can leave even seasoned developers scratching their heads.
If you’ve been searching for the real guide on how to install CARLA with Windows 10 or 11 and Visual Studio 2022, look no further. This comprehensive, step-by-step tutorial consolidates official documentation, personal experience, and troubleshooting tips to save you hours of research and headaches.
Let’s dive in and get CARLA up and running!
Why This Guide?
- Up-to-Date: Tailored for CARLA v0.9.15, Windows 10/11, and Visual Studio 2022.
- Time-Saving: Avoid common pitfalls and errors that took me hours or even days.
- Comprehensive: Merges official documentation with practical insights and personal experience.
Prerequisites
System Requirements
NOTE: Before you start, the build process can take several hours depending on your hardware specifications. On a machine with the specs below, compiling CARLA took around 5+ hours.
- Operating System: 64-bit Windows 10 or 11
- Processor: Quad-core Intel or AMD processor, 2.5 GHz or faster
- Example: Intel Core i7-12700H @ 2.30 GHz
- Memory (RAM): 32 GB (recommended)
- Graphics Card: Dedicated GPU with at least 6 GB VRAM (8 GB recommended)
- Disk Space: Approximately 165 GB total
- CARLA: ~32 GB
- Unreal Engine and related software: ~133 GB
- TCP Ports: Ensure ports 2000 and 2001 are open (default for CARLA)
Software Requirements
IMPORTANT:
- If you have multiple Python versions installed, make sure Python 3.8 can be found first (Python 3.10 won’t work for certain).
- DO NOT attempt to use a virtual environment for building the CARLA package.
Here is the toolchain I used:
- Git: Version control system for cloning repositories
- CMake: Version 3.15 or higher
- Make: Version 3.81 (strictly required)
- 7-Zip: For extracting compressed files
- Python 3.8 (64-bit): Required for CARLA (avoid 32-bit versions)
- Visual Studio 2022: Community Edition is sufficient
- Unreal Engine 4.26 (CARLA fork): Custom version required for CARLA
Ensure all software is added to the system’s PATH environment variable.
Python Dependencies
- Pip: Version 20.3 or higher
- Setuptools: For building and distributing Python packages
- Wheel: For building wheel archives
Install Python packages:
pip install --upgrade pip
pip install --user setuptools
pip install --user wheel
Setting Up the Environment
Install Dependencies
Let’s start by installing the necessary dependencies.
-
Git: Download Git and verify Installation:
git --version -
CMake: Download CMake and verify Installation:
cmake --version -
Make: Install via Chocolatey (requires administrative privileges):
choco install makeAdd to PATH: Ensure
makeis added to your system’sPATHenvironment variable and verify Installation:make --version -
7-Zip: Download 7-Zip and install it.
-
Python 3.8 (64-bit): Download Python 3.8 and install it.
IMPORTANT: Ensure Python is added to the
PATHduring installation and verify Installation:python --version pip --version
Install Visual Studio 2022
IMPORTANT: Do not install multiple versions of Visual Studio, as this may cause conflicts. Even if previous versions have been uninstalled, remnants may persist. If necessary, clean up using the Visual Studio Installer.
-
Download Visual Studio 2022: Visual Studio 2022 Download
-
Choose Workloads:
- Desktop Development with C++: Includes the required C++ toolsets.
- .NET Desktop Development: Includes .NET Framework 4.6.2 development tools.
- Individual Components:
- Windows 10 SDK: For Windows 11, select the latest Windows 10 SDK.
- C++ CMake Tools for Windows
-
Install and Restart: Complete the installation and restart your computer.
Build Unreal Engine 4 for CARLA
NOTE: You need to have access to the Epic Games GitHub organization. For this, you need an account on GitHub and Epic Games.
-
Link GitHub and Epic Games Accounts: Follow these instructions to link your accounts.
-
Clone the Repository: Keep the Unreal Engine folder path as close to
C:\as possible. Long paths can cause errors when runningSetup.batlater.git clone --depth 1 -b carla https://github.com/CarlaUnreal/UnrealEngine.git CarlaUE4 cd CarlaUE4 -
Example Directory Listing
PS C:\CarlaUE4> ls

    Directory: C:\CarlaUE4

Mode                 LastWriteTime         Length Name
----                 -------------         ------ ----
d----           9/28/2023  1:05 PM                Engine
d----           9/28/2023  1:05 PM                Samples
d----           9/28/2023  1:05 PM                Templates
-a---           9/28/2023  1:05 PM            542 .editorconfig
-a---           9/28/2023  1:05 PM            511 .gitattributes
-a---           9/28/2023  1:05 PM           6328 .gitignore
-a---           9/28/2023  1:05 PM            660 GenerateProjectFiles.bat
-a---           9/28/2023  1:05 PM            231 GenerateProjectFiles.command


-a---           9/28/2023  1:05 PM            736 GenerateProjectFiles.sh
-a---           9/28/2023  1:05 PM            623 INSTALLATION.md
-a---           9/28/2023  1:05 PM            195 LICENSE.md
-a---           9/28/2023  1:05 PM           9713 README.md
-a---           9/28/2023  1:05 PM           1318 Setup.bat
-a---           9/28/2023  1:05 PM            198 Setup.command
-a---           9/28/2023  1:05 PM           1690 Setup.sh
-a---           9/28/2023  1:05 PM            269 UE4Games.uprojectdirs
Install Dependencies
NOTE: If a Windows pop-up complains about an incompatible framework, select Download to install the required dependencies.
Run the following scripts:
Setup.bat
GenerateProjectFiles.bat
Compile the Engine
NOTE: The build process can take several hours. On my reference machine, compiling CARLA took around 5+ hours.
-
Open the Solution File: Open
UE4.slninC:\CarlaUE4with Visual Studio 2022. -
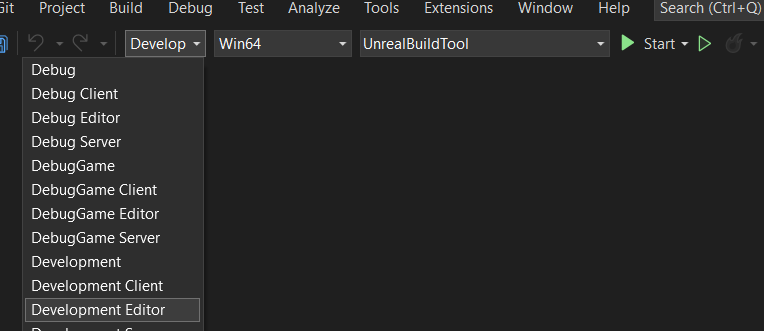
Select Build Configuration:
- Configuration:
Development Editor - Platform:
Win64
- Configuration:
-
Build the Engine: In the Solution Explorer, right-click
UE4and select Build.
-
Verify Installation: After the build completes, navigate to
Engine\Binaries\Win64and runUE4Editor.exeto verify.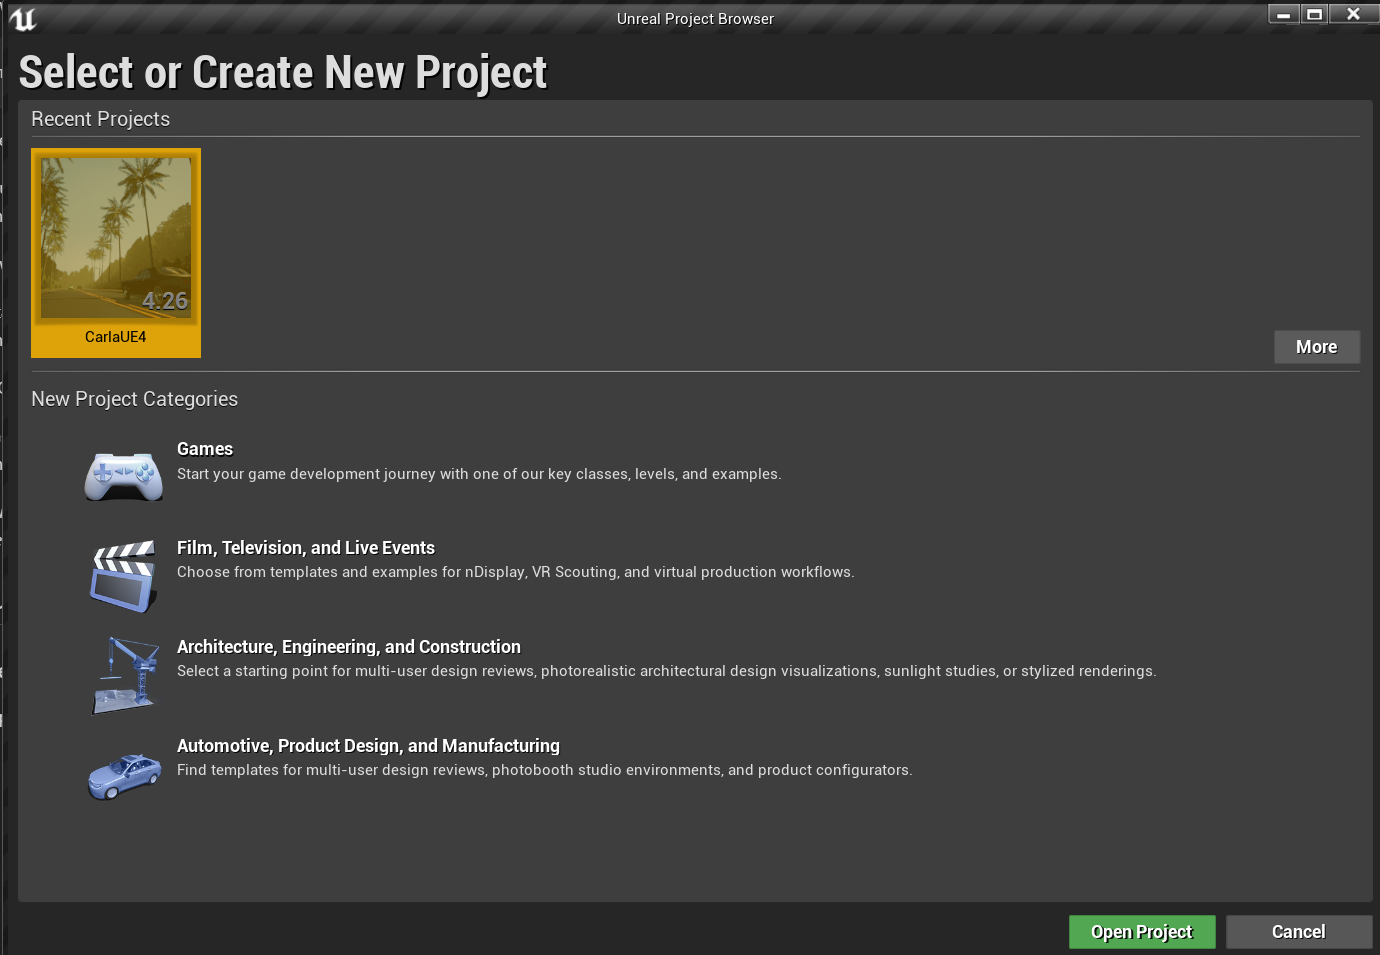
Building CARLA from Source
Clone the CARLA Repository
git clone https://github.com/carla-simulator/carla.git -b 0.9.15 carla-0.9.15
cd carla-0.9.15
Example Directory Listing:
PS C:\carla-0.9.15> ls

    Directory: C:\carla-0.9.15

Mode                 LastWriteTime         Length Name
----                 -------------         ------ ----
d----           9/28/2023  1:05 PM                Docs
d----           9/28/2023  1:05 PM                LibCarla
d----           9/28/2023  1:05 PM                PythonAPI
d----           9/28/2023  1:05 PM                Unreal
-a---           9/28/2023  1:05 PM            542 .editorconfig
-a---           9/28/2023  1:05 PM            511 .gitattributes
-a---           9/28/2023  1:05 PM           6328 .gitignore
-a---           9/28/2023  1:05 PM           9713 README.md
Download Assets
NOTE: If this is missing at run-time (
make launch-only) a segmentation fault will raise.
Download scenarios asssets:
Update.bat
Install Python Packages
IMPORTANT:
- Do not compile CARLA in a virtual environment as this may cause a
B2.EXE(boost library) error.- This process must be executed natively (system-wide) and with Python 3.8 specifically.
- If multiple Python versions are installed, ensure Python 3.8 is at the top of your
PATH.
Check your Python version:
python --version
Should output:
Python 3.8.XX # XX can be any version
Install necessary Python packages, if this package is not installed system wide the package won’t be generated even if there’s a “success” message:
pip install wheel
Verify installed packages:
pip list
Confirm your pip version:
pip --version
Compile the Python API
NOTES:
- The build process defaults to Visual Studio 2019. Since we’re using Visual Studio 2022, we need to specify it.
- Ensure Python 3.8 is the top version in the system
PATH.- This process can take around 30 minutes.
Open the x64 Native Tools Command Prompt for VS 2022. Navigate to your CARLA directory:
cd C:\carla-0.9.15
Compile the Python API:
make PythonAPI GENERATOR="Visual Studio 17 2022"
Troubleshooting Boost Library Issues
If you encounter an error related to the Boost libraries, it’s likely because the Boost libraries were built with a different version of the Microsoft Visual C++ (MSVC) compiler. Visit this GitHub issue for reference.
Error Message:
LINK : fatal error LNK1104: cannot open file 'libboost_filesystem-vc142-mt-x64-1_80.lib'
Explanation:
- The Boost libraries were built with MSVC version 14.2 (Visual Studio 2019).
- You’re using MSVC 14.3 (Visual Studio 2022).
- The linker expects Boost libraries for
vc143.
Solution:
-
Delete the Current Boost Installation:
rm -r .\Build\boost-1.80.0-install\ -
Install Boost with the Correct Toolset:
.\Util\InstallersWin\install_boost.bat --build-dir "C:\carla-0.9.15\Build\" --toolset msvc-14.3 --version 1.80.0 -j 32Notes:
--toolset msvc-14.3specifies the correct MSVC version.-j 32uses 32 cores for parallel compilation (adjust according to your CPU).
-
Rebuild the Python API:
make PythonAPI
Compile the CARLA Server
NOTE: This step will take several hours (2+ hours).
Compile the CARLA server:
make CarlaUE4Editor GENERATOR="Visual Studio 17 2022"
This command compiles the server without launching it immediately. The output files will be created at:
C:\carla-0.9.15\PythonAPI\carla\dist
Launching the CARLA Simulator
Changing the Default Map (Optional)
By default, CARLA loads Town10HD_Opt, which is large and resource-intensive. If you have limited resources, consider switching to a lighter map like Town02.
-
Edit Configuration File: Open
Unreal\CarlaUE4\Config\DefaultEngine.iniin a text editor. -
Modify Map Settings:
Replace the map settings with the following:
[/Script/EngineSettings.GameMapsSettings]
EditorStartupMap=/Game/Carla/Maps/Town02.Town02
GameDefaultMap=/Game/Carla/Maps/Town02.Town02
ServerDefaultMap=/Game/Carla/Maps/Town02.Town02
GlobalDefaultGameMode=/Game/Carla/Blueprints/Game/CarlaGameMode.CarlaGameMode_C
GameInstanceClass=/Script/Carla.CarlaGameInstance
TransitionMap=/Game/Carla/Maps/Town02.Town02
GlobalDefaultServerGameMode=/Game/Carla/Blueprints/Game/CarlaGameMode.CarlaGameMode_C
Launch the CARLA Server
NOTE:
- Launching the simulation takes time. It might seem it gets stuck at 95%, but it’s not.
- For this setup, it took around 20 minutes to open the Editor and another 30 minutes to start the simulation as shading and object rendering occur.
- This only happens once; subsequent launches will be much faster due to caching.
Now, let’s launch the CARLA server:
make launch-only
After loading, this is how it will look like if using Town02:
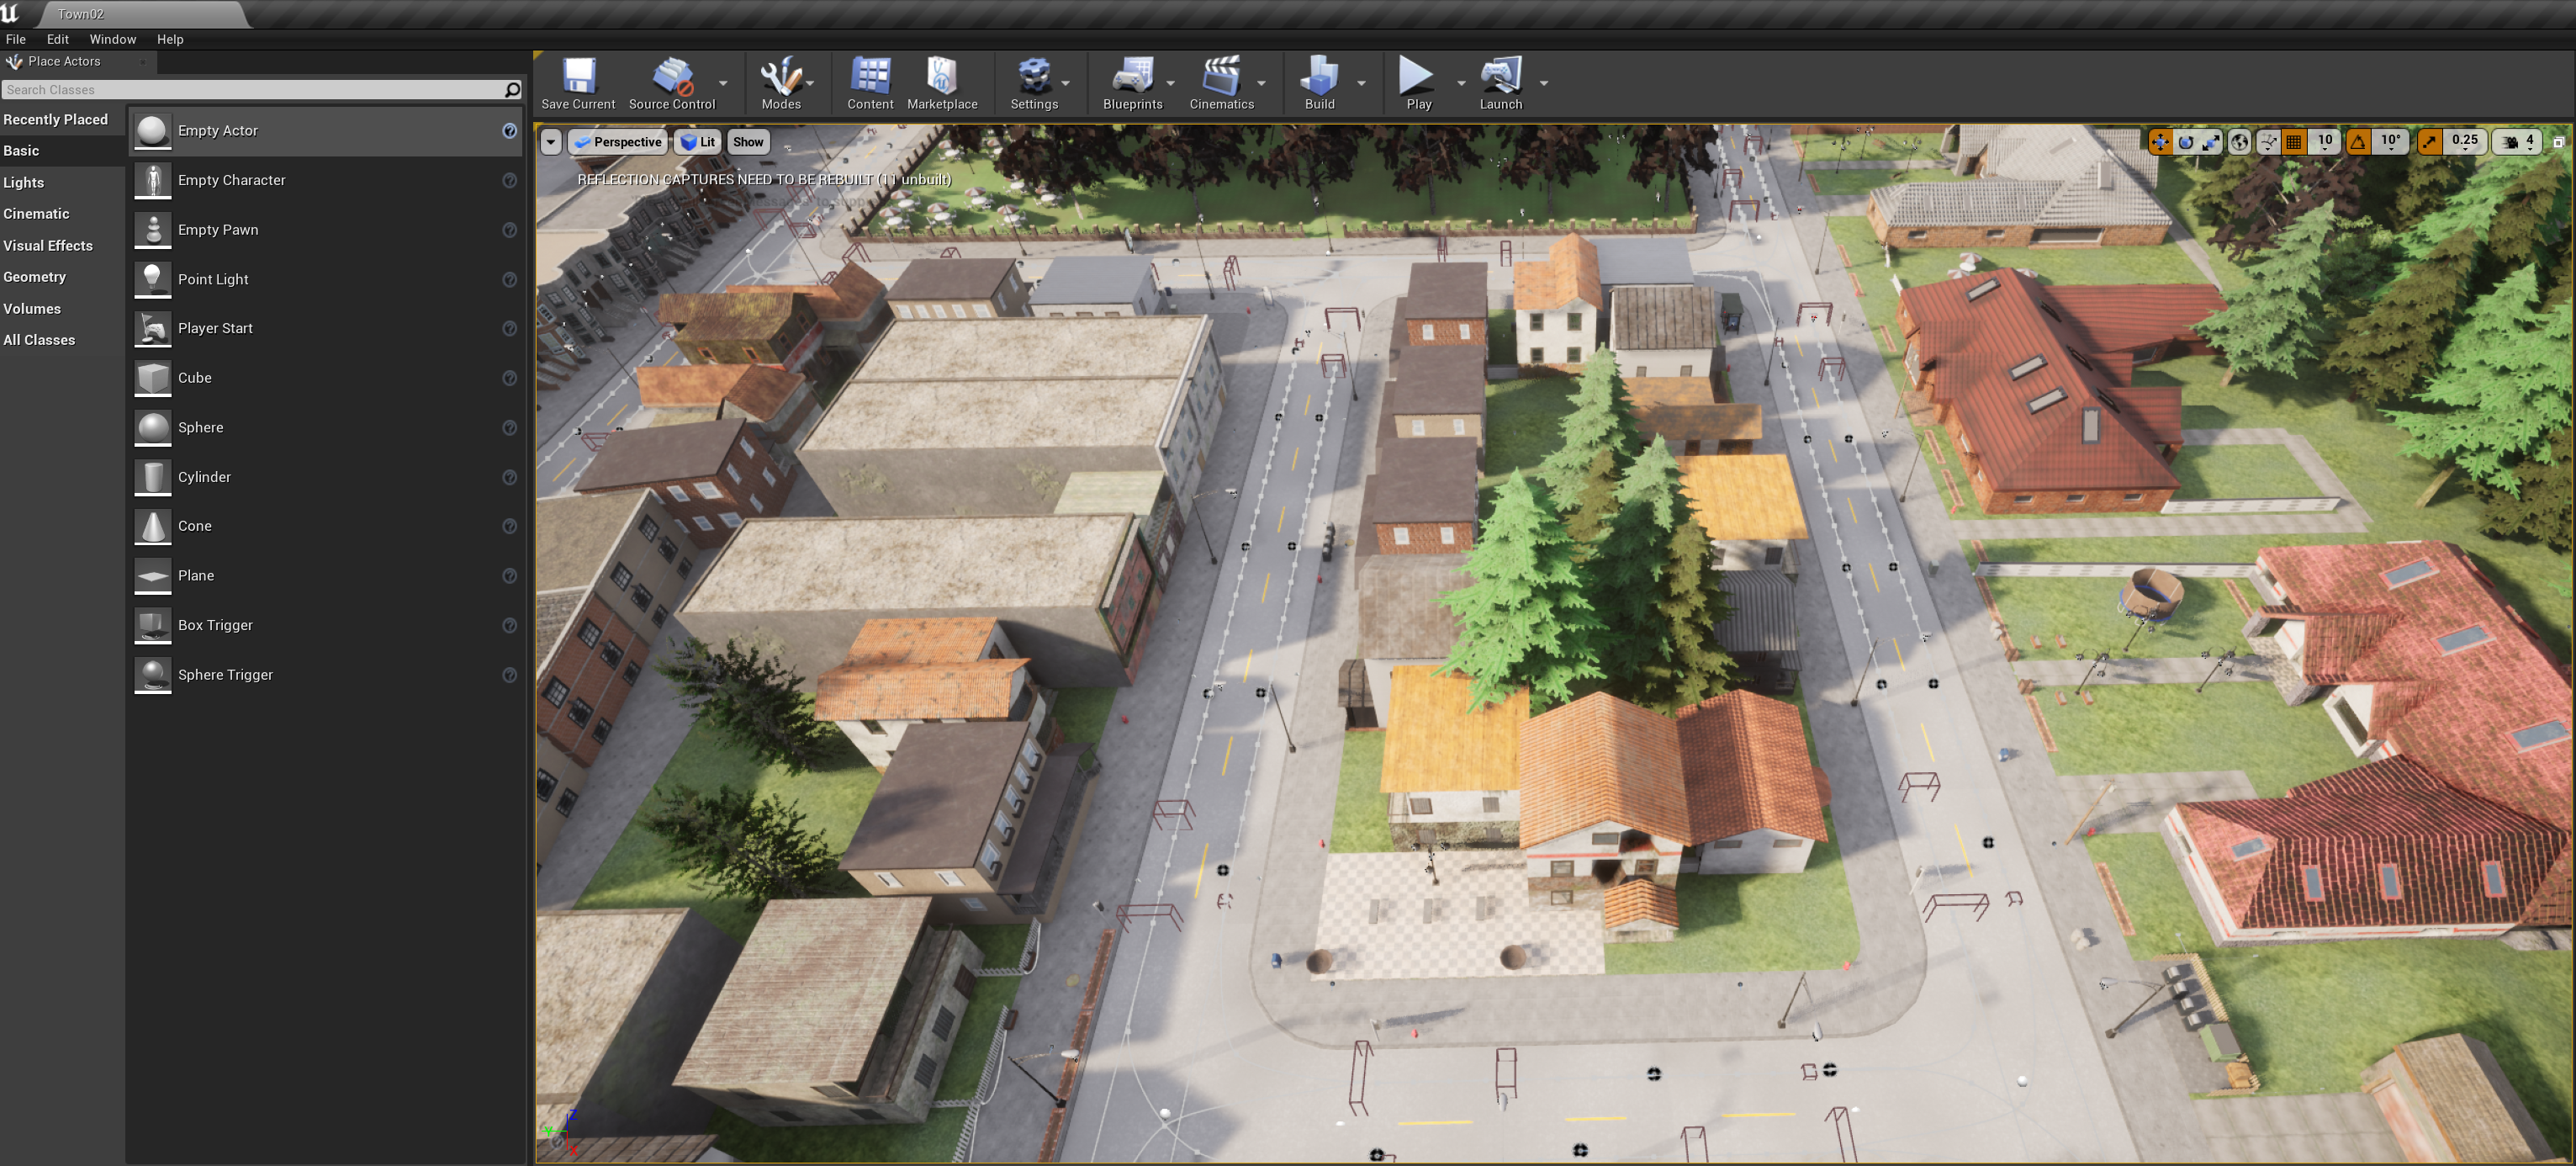
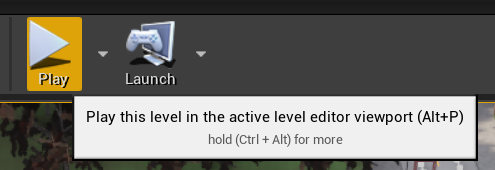
Now click Play in the Unreal Editor to start the simulation.
In-Game View:
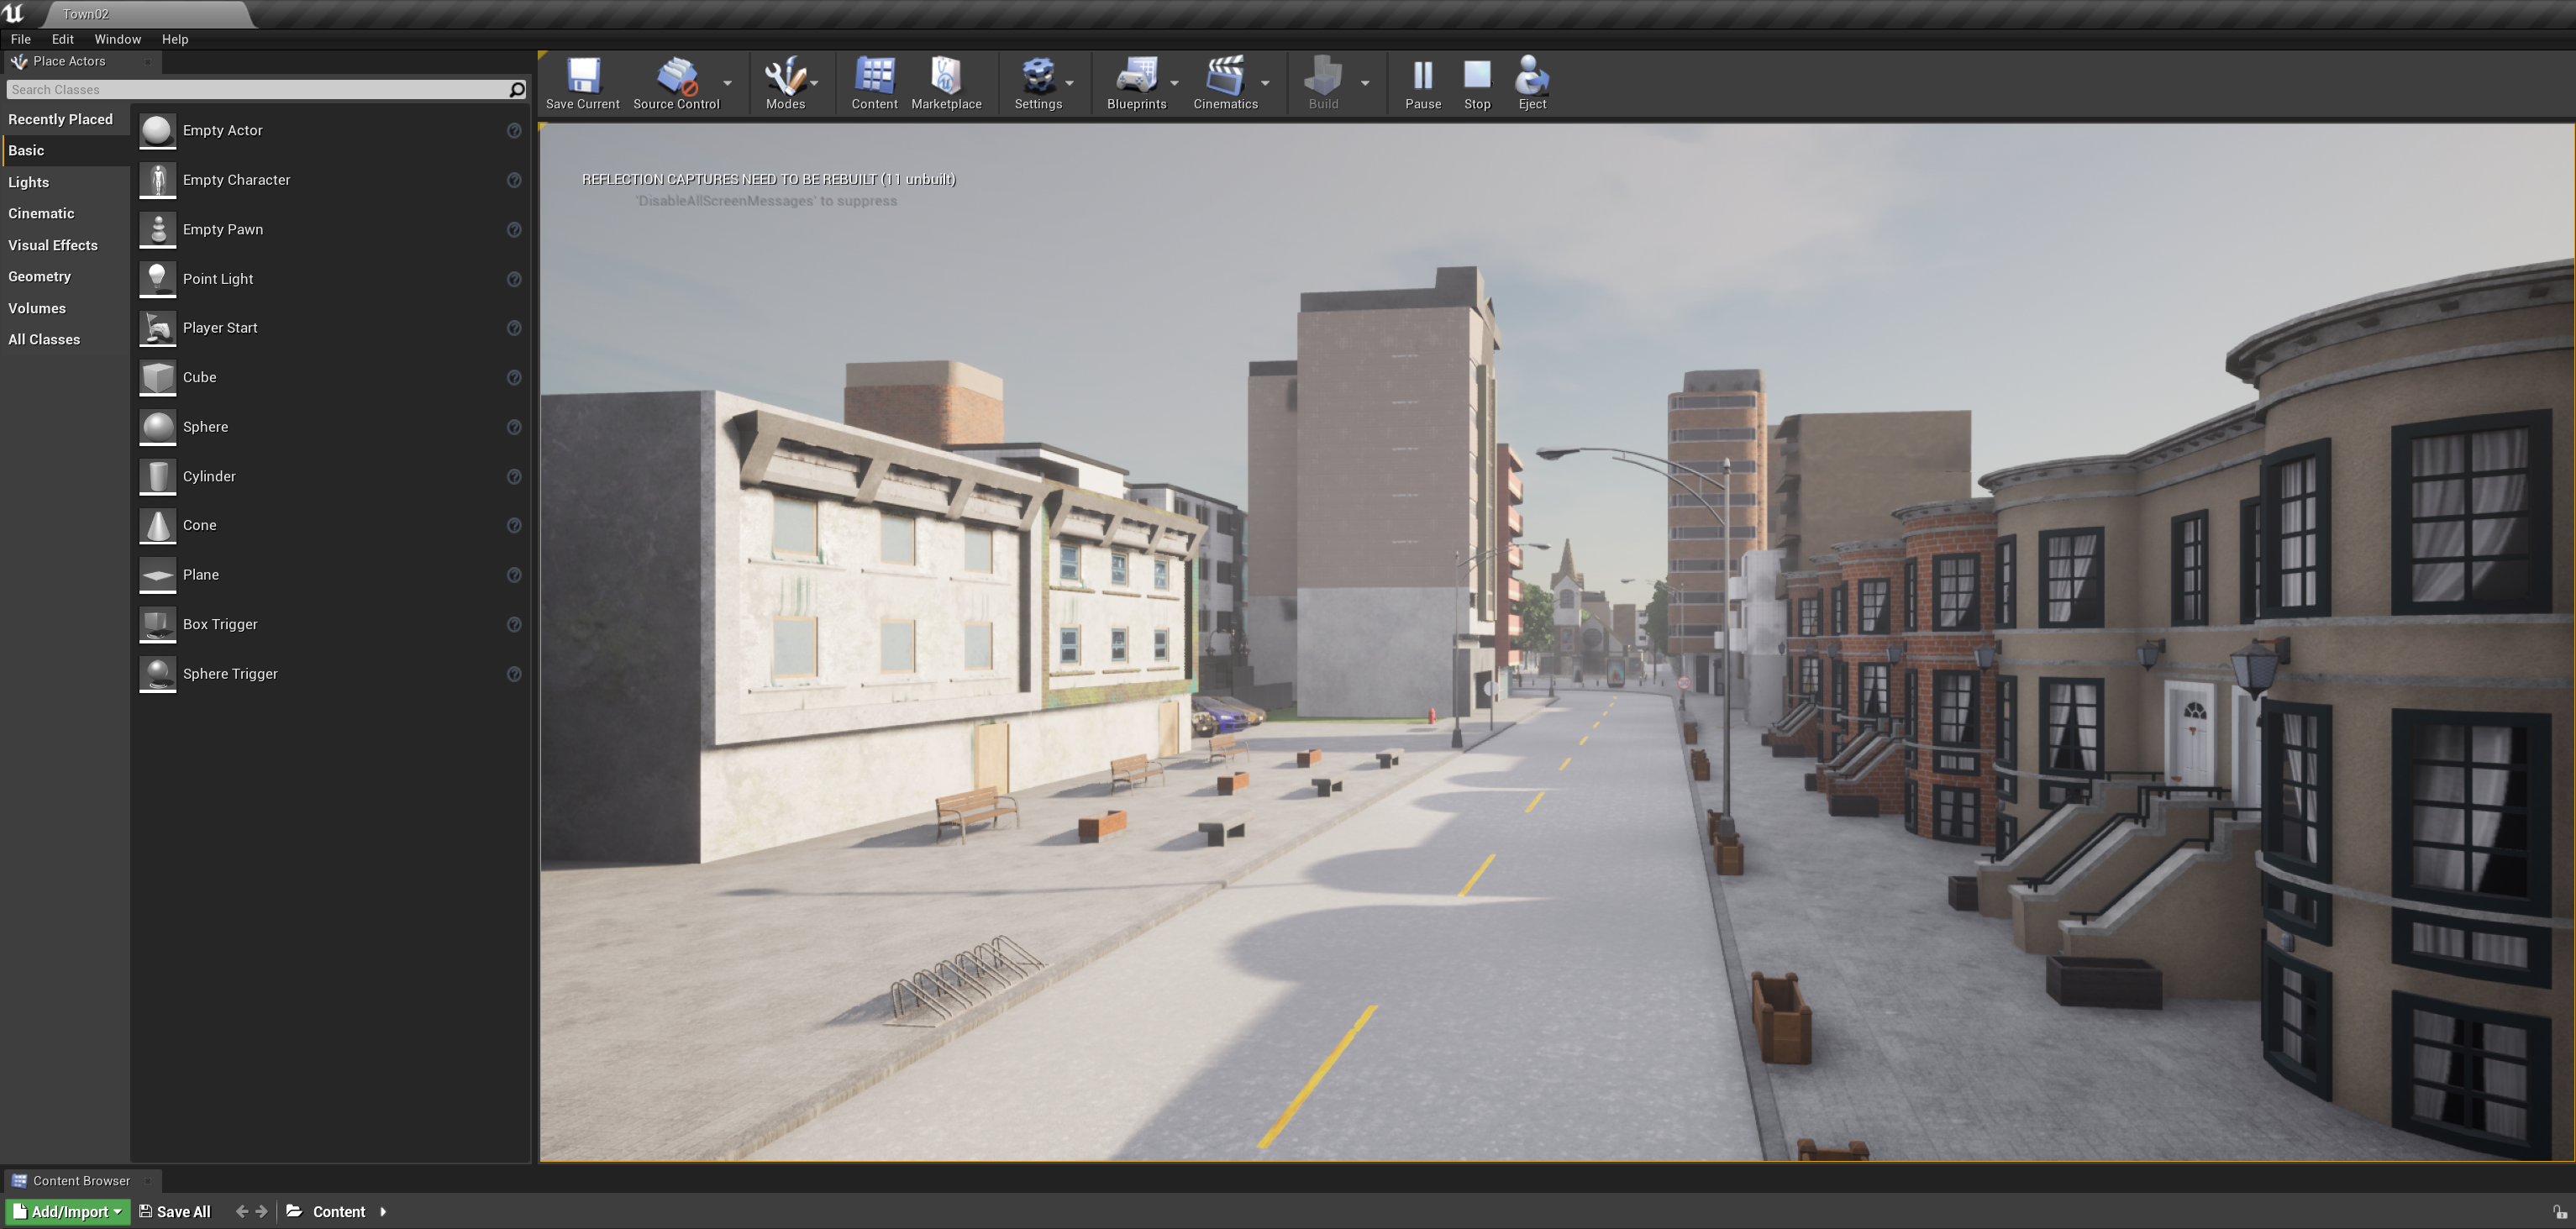
You can move around using the WASD keys and look around with the mouse, just like in any first-person game.
Running the CARLA Client
Creating a Python Virtual Environment
IMPORTANT:
- Do NOT create a virtual environment until the build process is complete to avoid any potential errors (with
B2.EXE).- Ensure Python 3.8 is the version used in the virtual environment.
Create the Virtual Environment:
py -3.8 -m venv .venv
Activate the Virtual Environment:
.\.venv\Scripts\activate
Installing the CARLA Package
Navigate to the CARLA Python API distribution directory and install the package:
cd C:\carla-0.9.15\PythonAPI\carla\dist
pip install .\carla-0.9.15-cp38-cp38-win_amd64.whl
Installing Example Dependencies
Install dependencies for the example scripts:
cd C:\carla-0.9.15\PythonAPI\examples
pip install -r requirements.txt
Starting Traffic Simulation
NOTE: Ensure the CARLA server is running before executing client scripts.
You can now run example scripts to interact with the simulation. For instance, to generate traffic:
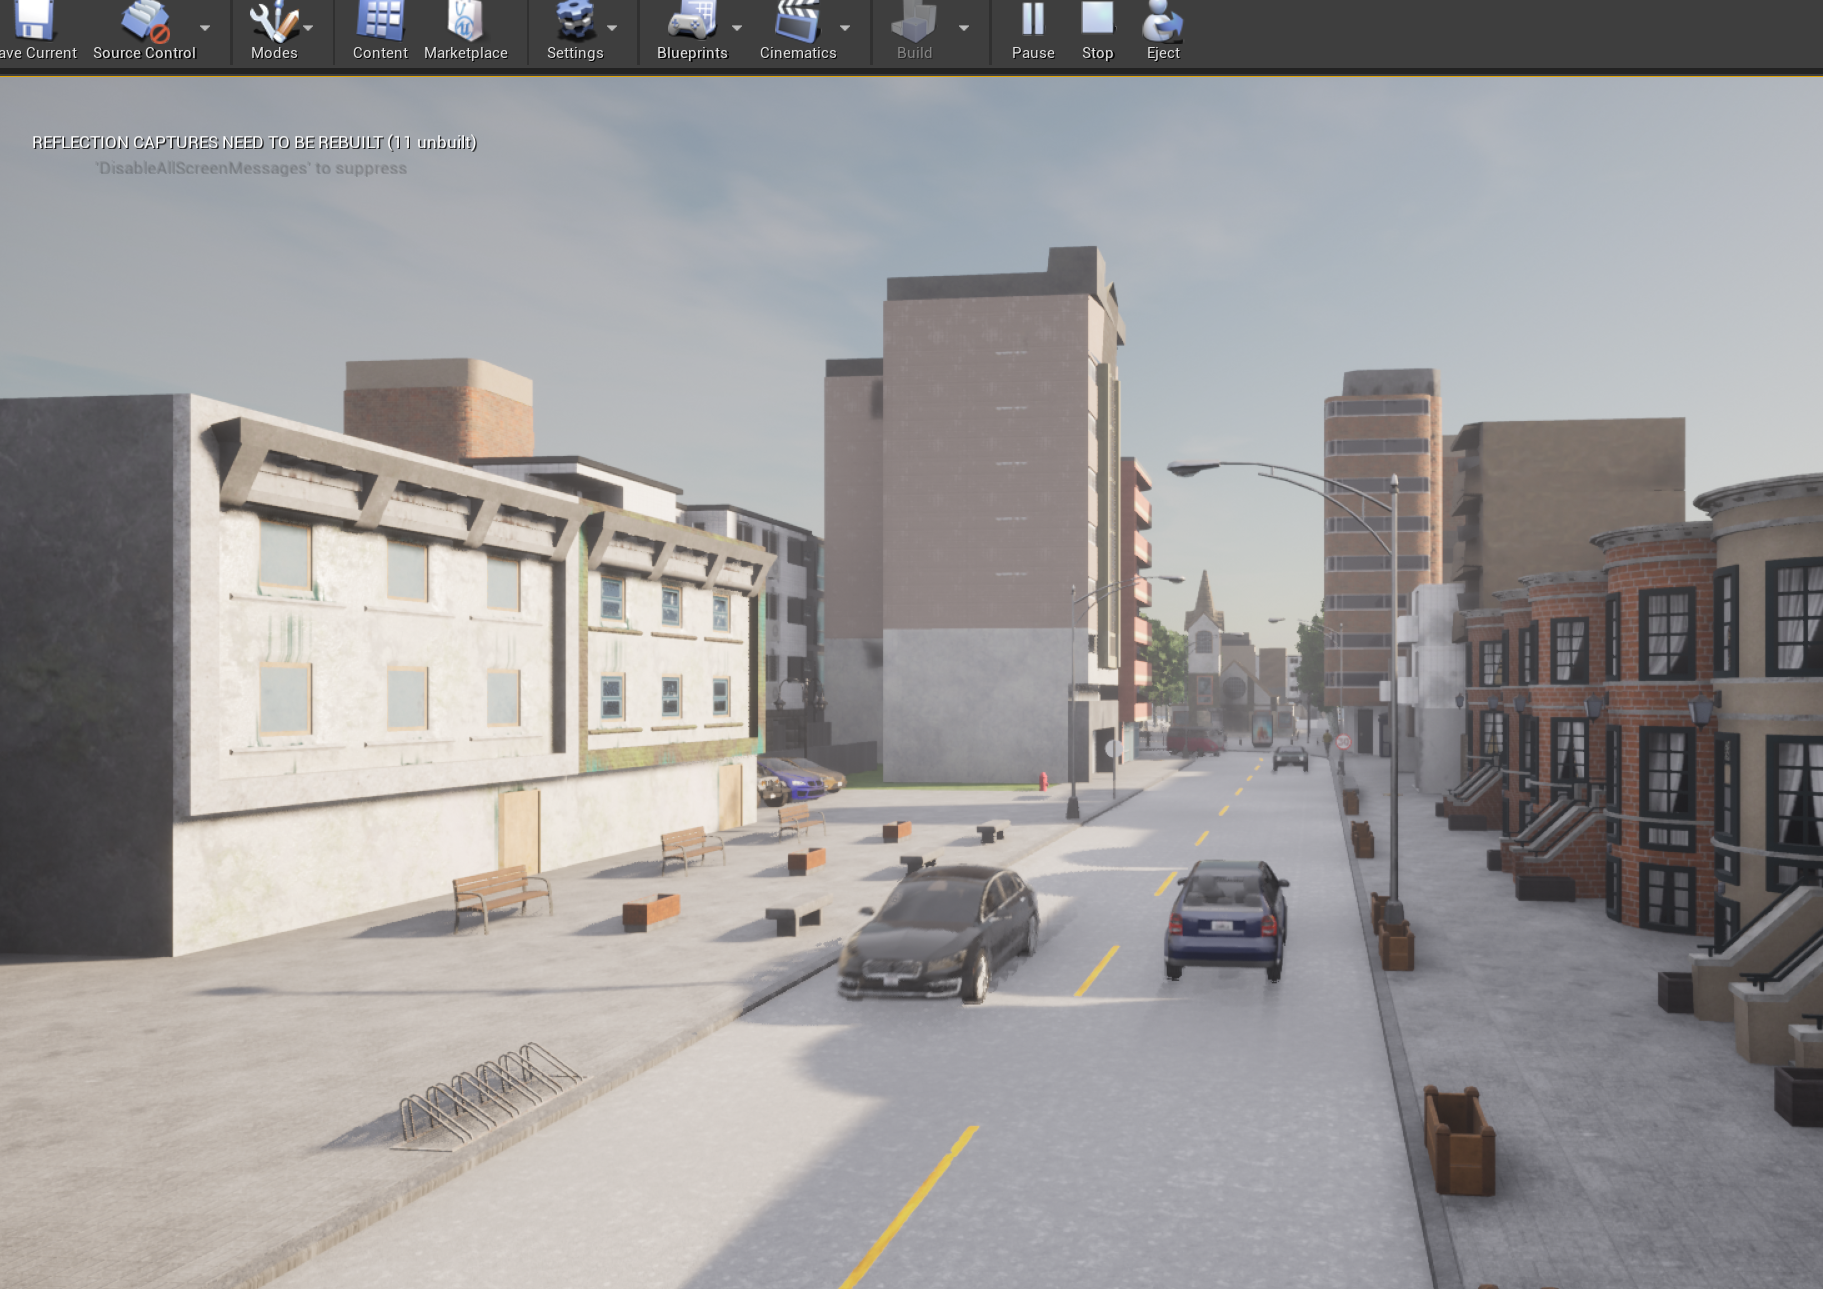
python generate_traffic.py
You should now see traffic in the simulation.
Example Output:
Conclusion
Congratulations! You’ve successfully built and run CARLA on a Windows 10/11 machine using Visual Studio 2022. By following this guide, you’ve saved yourself hours of troubleshooting and research.
Feel free to explore the CARLA simulator, run different scenarios, and even contribute to the CARLA community. Whether you’re a researcher, developer, or hobbyist, CARLA offers a powerful platform for autonomous driving simulation.
Additional Resources
- Official CARLA Documentation: CARLA Simulator Official Docs
- CARLA GitHub Repository: carla-simulator/carla
- Unreal Engine GitHub Access: UE on GitHub
- CARLA Support Forum: CARLA Forum
- Python Downloads: Python 3.8 Downloads
- Visual Studio Downloads: Visual Studio 2022
- CMake Documentation: CMake Docs
- Make Documentation: GNU Make Manual
Troubleshooting
- Common Issues: Refer to the CARLA FAQ for solutions to common problems.
- Reporting Bugs: Use the CARLA Issue Tracker on GitHub.
- Community Support: Engage with other users on the CARLA Forum.
By sharing this guide, you’re helping others save valuable time and effort. If you found this helpful, feel free to share it on LinkedIn or other platforms.
Disclaimer: This guide is based on personal experience and the official CARLA documentation. Steps and commands are accurate as of CARLA version 0.9.15 and may change in future releases.